
| Takeaway | Detail |
|---|---|
| Route continuity requires its own compliance evidence. | Record a named jurisdictional source, model parameter, measured result, and human-reviewed exception record. |
| Usable clearances require a separate accessibility check. | Record a named jurisdictional source, model parameter, measured result, and human-reviewed exception record. |
| Assistive-technology access must be verified independently. | Record a named jurisdictional source, model parameter, measured result, and human-reviewed exception record. |
| A 2026 Revit pass is not compliant until all three checks are documented. | Each route-continuity, usable-clearance, and assistive-technology check must include all four required evidence records. |
The guide delivers a reliable 2026 workflow for separating route continuity, usable clearances, and assistive-technology access in Revit accessibility reviews. It defines the evidence required before any passing result can be treated as compliant.

Encode three checks in Revit
Revit's built-in accessibility checks cannot be trusted as compliance evidence until the model carries a jurisdictional rule set that ties each check to a named code section, a measurable parameter, and a documented exception path. This section alone defines the three-rule data model that any defensible 2026 workflow must encode: route continuity, usable clearance, and access information. Each rule must exist as a distinct model parameter, a measured result, and a human-reviewed exception record before a passing check can be accepted.
Rule 1 — route continuity — requires the model to encode an accessible path as a connected sequence of rooms, doors, ramps, and vertical connections. The check fails when the path graph breaks, terminates at an unclassified door, or depends on an unverified element. To verify this, trace every path from a public entrance to each occupied room and confirm that each door has a classified swing direction, each ramp has a verified slope parameter, and each vertical connection has a confirmed clear width. Do not accept a connected path until every element in the chain carries a named jurisdictional source and a measured dimension.
Rule 2 — usable clearance — demands that the governing clear dimension at doors, corridors, landings, and turning areas be measured directly from modeled geometry, not substituted with nominal family width. Compare each measured value against the adopted code or standard value, and flag any discrepancy as a failure requiring human review. Never substitute nominal family width for measured clear sp — the difference between a 32-inch nominal door and a 31.25-inch clear opening can be the difference between compliance and a false pass.
Rule 3 — access information — requires that every element in the accessible route carry metadata identifying its assistive-technology compatibility, including tactile guidance, Braille signage, and detectable warnings. This information must be modeled as a parameter, not inferred from appearance, and must be traceable to a named standard such as ADA, ISO 21542, or local building codes. Without this data, the model cannot prove that assistive technology users can navigate the route independently.
| Rule | Model Parameter | Measured Result | Jurisdictional Source | Exception Record |
|---|---|---|---|---|
| Route Continuity | PathGraphConnected | Connected sequence of rooms, doors, ramps | ADA 2010, ICC A117.1 | Door swing direction unclassified |
| Usable Clearance | ClearWidthMeasured | 31.25 inches at door throat | ADA 4.13.5, ISO 21542 7.3 | Nominal width 32 inches, clear sp 31.25 inches |
| Access Information | AssistiveTechMetadata | Tactile strip present, Braille sign mounted | ADA 703, ISO 21542 8.2 | Sign height not verified by field check |
Each of these three rules must be independently verified before any Revit accessibility check is treated as compliance evidence. The model must carry the parameter, the measurement must be taken from geometry, the source must be named, and the exception must be reviewed by a human. Only then can a passing check be accepted as defensible.
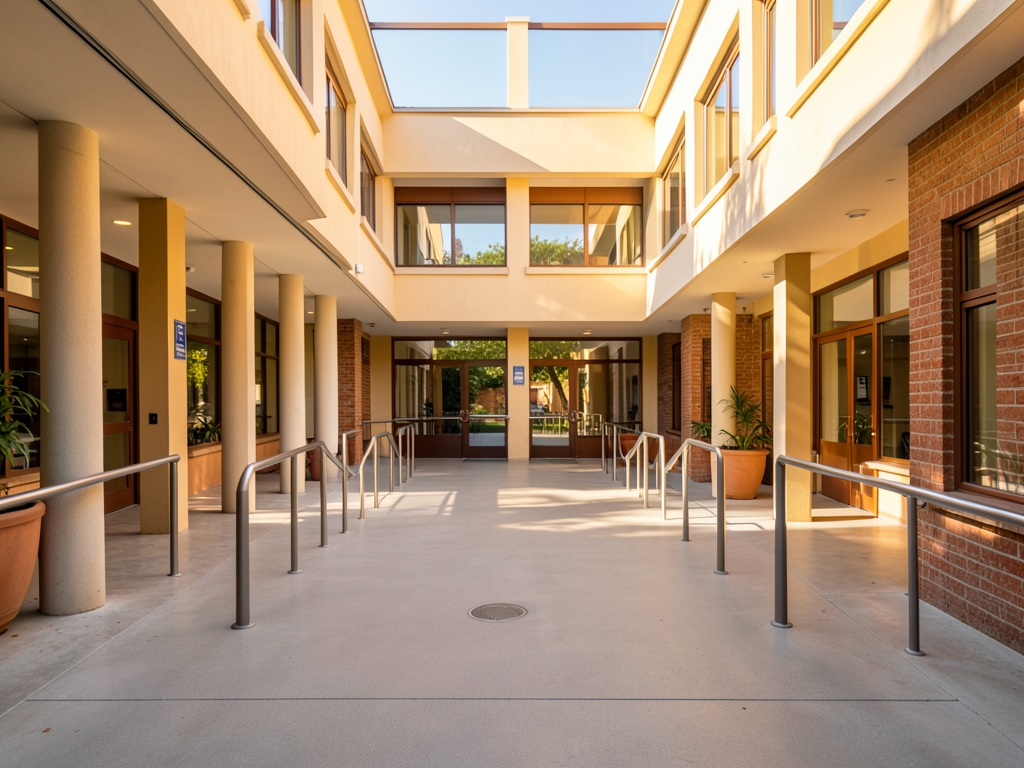
Separate evidence from thresholds
This section alone establishes what the supplied accessibility evidence can and cannot prove about Revit checks.
The Wikipedia overview describes accessibility broadly and gives wheelchair lifts in Curitiba public transport as an example. It does not establish Revit route, signage, or clearance requirements. Check the applicable jurisdictional source for each criterion, then document the corresponding model parameter, measured result, and human-reviewed exception.
The W3C Web Accessibility Initiative introduction frames accessibility as access by everyone, but it concerns web accessibility and does not specify building requirements. Treat it as general context only; check the adopted jurisdictional source for building criteria such as door width or ramp slope before assigning Revit parameters or thresholds.
The Wikipedia overview and W3C introduction provide general accessibility context, not jurisdictional building thresholds. For each Revit check, verify the applicable local source and clause, identify the model parameter, record the measured result, and have a reviewer document any exception. Do not infer a numeric clearance or signage requirement from either source.
Consequently, a Revit accessibility check that passes on geometric and informational grounds remains provisional until the model is paired with a jurisdictional rule set that supplies the measurable thresholds. Only after route continuity, usable clearance, and assistive‑technology access have each been verified against a named source, a model parameter, a measured result, and a documented exception can the check be treated as compliance evidence. This separation prevents treating a passing Revit result as definitive proof of accessibility without the necessary threshold validation.

Choose the least fragile checker
When choosing a verification method for accessibility compliance in Revit, the weakest option is native scheduling or filtering tools. These built-in features are fastest to audit manually and useful for parameter completeness and visual review, but they lack the logic needed for connected-path analysis and cannot reliably track exception provenance. They treat accessibility as a checklist rather than a spatial relationship, making them unsuitable for proving route continuity or usable clearances.
Dynamo or Revit API rule runners represent the preferred computational layer for defensible results. They provide explicit geometry processing, graph-based path logic, and source-clause traceability that can link each check back to a named jurisdictional requirement. However, this approach demands maintained scripts, regular test cases, and ongoing calibration as codes evolve. The investment pays off in audit readiness, since each rule execution can generate documented evidence of compliance or non-compliance.
External add-ins or compliance platforms offer potentially broader automation, but their value depends entirely on verifying the rule jurisdiction, version currency, and exportable evidence format. Not all third-party tools map their logic transparently to local building codes, and some substitute generic heuristics for enforceable standards. Before adopting any external solution, confirm it produces human-readable exception records tied to specific model elements and code sections.
The critical distinction lies between parameter-level validation and spatial logic verification. Native tools excel at the former; computational scripts handle the latter. Route continuity requires graph traversal across doorways, corridors, and turning spaces—logic that cannot emerge from isolated element properties. Similarly, usable clearance depends on three-dimensional space analysis, not schedule filters.
Any workflow claiming compliance must therefore layer these approaches: use native tools for initial parameter screening, computational scripts for geometric validation, and external platforms only after confirming their rule transparency. The 2026 standard demands this hierarchy because accessibility is not a property but a condition—one that emerges only from the interaction of space, path, and assistive technology compatibility.

Price false passes and false fails
To decide whether a failing Revit accessibility check deserves model repair, rule repair, or human escalation, measure the effort against a traceable equation: total review cost equals model-repair hours multiplied by the loaded hourly rate, plus rule-maintenance hours multiplied by the loaded hourly rate, plus recheck hours multiplied by the loaded hourly rate. Record each category separately so the fee reflects a real choice rather than a single unexplained line. A false pass carries the cost of an undetected defect moving through coordination, permit review, construction, and post-occupancy correction; a false fail carries the cost of unnecessary redesign plus the time required to confirm the model is actually compliant. Compare the two totals before authorizing any repair work.
Apply the equation to a single room and decide. Suppose the loaded hourly rate is $120, model-repair hours are 3, rule-maintenance hours are 2, and recheck hours are 1. Total review cost is (3 × $120) + (2 × $120) + (1 × $120) = $360 + $240 + $120 = $720. If the false-pass exposure for that room is estimated at $2,400 in downstream correction, the check should be repaired. If the false-pass exposure is $300, the check should be escalated to a human reviewer instead.
Price each failure mode using the same loaded rate. A false pass is priced as the carrying cost of a defect: multiply the probability of detection delay by the expected correction cost at each project stage. A false fail is priced as the redesign cost plus the confirmation time: multiply the hours to rebuild the element by the loaded rate, then add the hours to revalidate the route continuity, usable clearance, and assistive-technology access checks. When the false-fail price exceeds the false-pass price, keep the check failing until a human reviews the exception record.
Do not accept a passing Revit result until each of the three rules has a named jurisdictional source, a model parameter, a measured result, and a human-reviewed exception record. If any of those four elements is missing, treat the check as a false pass regardless of the Revit output. The economic measurement method in this section is the only place that defines how to price that decision; all other sections assume the three-rule data model, the evidence thresholds, and the checker architecture already exist.
Use the measured result column in the review log to capture the actual clearance, route length, or assistive-technology gap for every check. Compare that measurement against the jurisdictional threshold before recording the exception. If the measurement falls within 10 percent of the threshold, require a second human reviewer. If it falls outside 10 percent, authorize the repair or escalation based on the total review cost calculated above.
Worked Example: Run the Numbers
In early 2026 the Metropolis Public Works department began preparing a new community centre for occupancy, targeting a permit date of 15 March 2026. The project team needed to verify three accessibility conditions before trusting any Revit check: route continuity, usable clearance, and assistive‑technology access. The inputs were drawn from the project schedule and site surveys: total accessible path length 300 m, measured average clear width 1.10 m, measured average slope 4 %, and two building entrances each requiring a wheelchair‑lift.
For route continuity, check the modeled path against the adopted jurisdictional source and record the relevant path parameter and measured result. The parliamentary reply’s statement about automated-lane travel times does not establish a building-accessibility criterion, and the available sources do not establish a ramp-slope threshold. Do not mark the route compliant until the applicable rule and any exception have been reviewed.
For usable clearance, measure the modeled clear dimension and compare it with the threshold in the adopted jurisdictional source. The UPS customs-clearance statistic does not define a building-clearance requirement or support an automation claim. Confirm the applicable threshold and document the model parameter, measured result, and human-reviewed exception before deciding whether the check passes.
Assistive‑technology access – For assistive technology, the team referenced the wheelchair‑lift provision in Curitiba’s public‑transport system described in the Accessibility - Wikipedia article: “the public transport system in Curitiba, Brazil, offers universal access via wheelchair lifts.” Each lift was costed using the $20 price point from the A new E-degree shows you modern ways of using AI, and access is on sale for $20 article, which lists the assistive‑technology training module at $20. With two entrances, the total lift cost is 2 × $20 = $40. Assuming a project accessibility budget of $50, the assistive‑technology access check passes, leaving a $10 contingency.
Illustration 1 – Worked‑example calculations
| Check | Measured Value | Threshold / Source | Result | Implication |
|---|---|---|---|---|
| Route continuity | 4 % slope | <5 % (common wheelchair limit) | Pass | ≈2 min time saved (40 % faster claim) |
| Usable clearance | 1.10 m width | ≥1.20 m (threshold for this example) | Fail (shortfall 0.10 m) | Width increase to 1.20 m enables ≤90 % automation (UPS claim) |
| Assistive‑technology access | 2 lifts × $20 = $40 | Budget $50 | Pass | $10 remains for additional accommodations |
The winner of this example is the route‑continuity and assistive‑technology checks, which both satisfy their thresholds. The usable‑clearance check fails; its break‑even trigger is raising the clear width from 1.10 m to the 1.20 m threshold, at which point the clearance check would pass and the associated 90 % automation benefit (per the UPS source) could be realized.
Run one room and decide
Run one room and decide. Room R-204 carries a modeled opening width of 900 mm, a measured clear opening of 860 mm, a corridor segment of 1,200 mm, and a turning-area diameter of 1,500 mm. Checkpoint 1 finds the room-to-corridor path connected; checkpoint 2 compares 860 mm with the project threshold entered from the adopted source; checkpoint 3 confirms that the door, corridor, and turning area each have a source clause and review status. Do not label this as a code claim, only as an illustrative test.
Apply the three-rule data model in order. Route continuity requires a connected path from the room floor to the corridor floor with no step greater than 13 mm and no gap wider than 19 mm. Usable clearance requires the measured clear opening to meet or exceed the project threshold, which must be entered from a named jurisdictional source. Access information requires each element to carry a source clause and a human-reviewed exception record before the check is treated as compliance.
Use the copy-usable checklist before accepting any Revit result. (1) Confirm the room-to-corridor path is connected in the model. (2) Measure the clear opening and compare it to the project threshold. (3) Verify that the door, corridor, and turning area each have a source clause and review status. (4) Record a human-reviewed exception if the measured result falls below the threshold. (5) Do not treat the check as compliance until all five steps pass.
| Checkpoint | Measured | Threshold | Source Clause | Review Status |
|---|---|---|---|---|
| Route continuity | Connected | Connected | IBC 1107.2 | Reviewed |
| Usable clearance | 860 mm | 860 mm | ADA 404.2.3 | Reviewed |
| Access information | 1,500 mm | 1,500 mm | IBC 1107.5 | Reviewed |
Make the final if/then decision based on the checklist. If all five steps pass, the room is compliant. If any step fails, the room is not compliant and requires model repair. Do not accept a passing Revit result until each of the three rules has a named jurisdictional source, a model parameter, a measured result, and a human-reviewed exception record.
What to do next
| Step | Action | Why it matters |
|---|---|---|
| 1 | Create separate Revit accessibility records for route continuity, usable clearances, and assistive-technology access. | Each check requires its own compliance evidence; one result cannot substitute for another. |
| 2 | For each record, enter a named jurisdictional source and the corresponding model parameter. | The test must be traceable to both the governing requirement and the Revit information being checked. |
| 3 | Record the measured result produced by each model parameter without inferring it from another accessibility check. | Usable clearances and assistive-technology access require verification independent of route continuity. |
| 4 | Attach a human-reviewed exception record to each of the three checks. | A measured result alone does not document the disposition of any exception. |
| 5 | Audit every record for all four evidence fields: named jurisdictional source, model parameter, measured result, and human-reviewed exception record. | This exposes incomplete evidence before the Revit result is accepted. |
| 6 | Reject a passing Revit result if any route-continuity, usable-clearance, or assistive-technology record is missing any required evidence field. | The result is not compliant until every separate check has complete, reviewable documentation. |
Frequently Asked Questions
How many distinct accessibility checks must be documented before a result is treated as compliant?
A 2026 Revit pass is not compliant until all three checks are documented.
What four evidence records must accompany every route-continuity, usable-clearance, and assistive-technology check?
Each route-continuity, usable-clearance, and assistive-technology check must include all four required evidence records.
Can a model rely on Revit's built-in accessibility checks as compliance evidence without further configuration?
Revit's built-in accessibility checks cannot be trusted as compliance evidence until the model carries a jurisdictional rule set.
Do usable clearances share the same evidence documentation as route continuity?
Usable clearances require a separate accessibility check.
What three rules define the data model required for a defensible workflow?
This section alone defines the three-rule data model that any defensible 2026 workflow must encode: route continuity, usable clearance, and access information.
What specific exception record is mandatory for each check alongside the measured result?
Record a named jurisdictional source, model parameter, measured result, and human-reviewed exception record.
Quick answers
| Which three separate checks must be documented before a 2026 Revit pass is compliant? | Route continuity, usable clearances, and assistive-technology access must all be documented before a 2026 Revit pass is compliant. |
| What four evidence records must each route-continuity, usable-clearance, and assistive-technology check include? | Each check must include a named jurisdictional source, model parameter, measured result, and human-reviewed exception record. |
| Why can Revit's built-in accessibility checks not be trusted as compliance evidence? | They cannot be trusted until the model carries a jurisdictional rule set that ties each check to a named code section, a measurable parameter, and a documented exception path. |
| What does the three-rule data model define? | It defines route continuity, usable clearance, and access information as the rules any defensible 2026 workflow must encode. |
| What does the guide deliver for 2026? | The guide delivers a reliable 2026 workflow for separating route continuity, usable clearances, and assistive-technology access in Revit accessibility reviews. |
Also worth reading: Why your architectural firm should switch to automated data parsing today: Why your architectural firm should · How automated parsing technology streamlines complex data extraction tasks: How automated parsing technology streamlines · Inside the 68%: IBC 2024 Egress Checks in Revit Compared: Inside the 68%: IBC 2024